Moving your windows around the screen manually can be a pain. In this video I demonstrate how I use a few keyboard shortcuts with a great little screen utility, Moom, to make my windows dance.
Task Manager Survey – The OmniFocus Baseline
I’m starting a new series where I’ll be looking at some of the most popular task managers. Before getting started, however, here’s a look at how I’m currently using OmniFocus with my setup and favorite features. This feature set will be a baseline of sorts while I look at competing apps… This is a post for MacSparky Labs Early Access and Backstage Members only. Care to join? Or perhaps do you need to sign in?
Hands-On with the Mac Studio and Studio Display
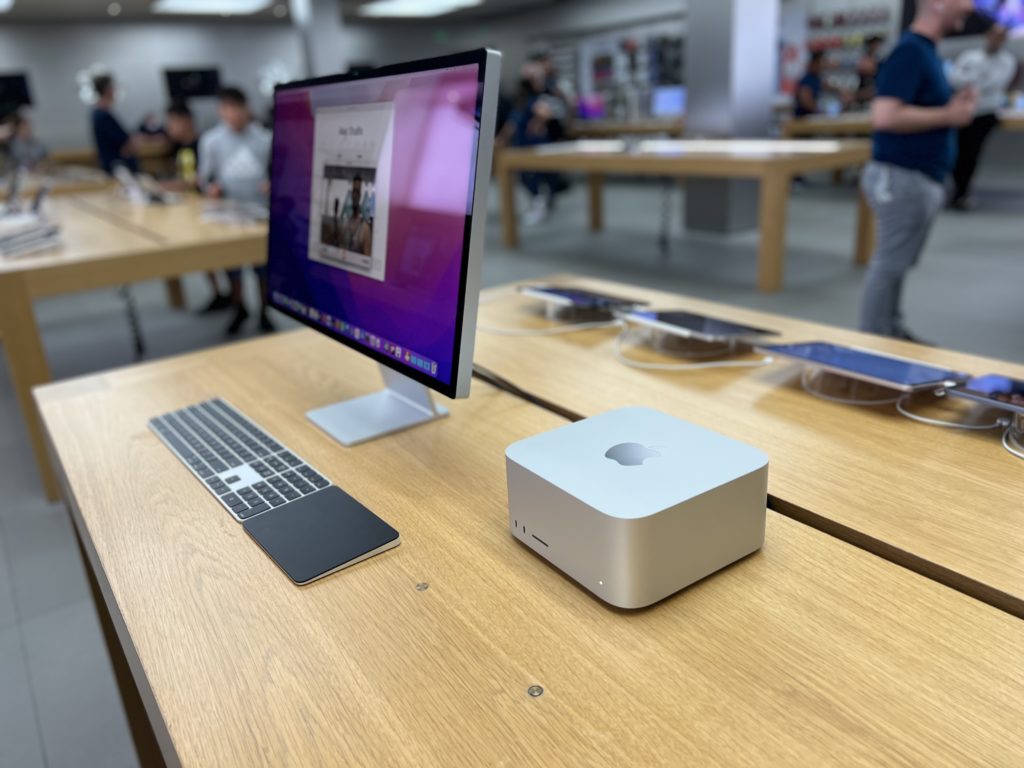
Over the weekend I got to spend some time in the Apple Store with the new Mac Studio and Studio Display. This post just barely qualifies as “hands-on” since I only got about 30 minutes with the setup before moving along. Nevertheless, I have thoughts:

The Mac Studio
- The Mac Studio looks nicer than I thought it would. When I first saw images of the Mac Studio, I thought it was kind of ugly, but in person it has a utilitarian “let’s get some work done” feel to it. I found myself running my fingers over its curves and kind of digging it. Still, I think I would have leaned into the idea of a cube more, but that’s what you’d expect from an old(er) Apple fan, right?
- So much input/output. This was no surprise, but seeing a Mac in an Apple Store with I/O on the front seemed kind of great.
- The only Mac Studio they had on the floor was the M1 Max model and performance-wise it felt exactly like my M1 Max MacBook Pro that I’m writing this on. No surprise there. It’s essentially the same computer.
- I put my hands over both the ventilation input and output. You could definitely feel airflow. I put my ear next to it and couldn’t hear anything (but I was in a crowded Apple Store). Also, the ventilation holes are both smaller and more numerous than I expected.
The Studio Display
- Maybe I’m an outlier, but Apple displays without the Apple logo or the chin look better to me than the old Thunderbolt monitors with all the branding.
- The display looks great. Viewing angles are good and the colors look nice. The difference with this display and the Pro Display XDR in terms of color depth, screen size, and black blacks is obvious, but you could also buy three of these for the cost of an XDR (and all three of them would have stands).
- The speakers sound good, but not particularly better than the MacBook Pro.
- The video camera looked okay (but not great) to me. I know there is a software issue with these new displays but I’m with John Gruber. For this much money, I really wish they had put in the camera module from the back of the iPhone. (The display is much thicker than an iPhone.) If you buy one of these displays, it should last you a long time. That camera is going to look pretty bad before the display goes bad.
- The stand looks nice, but is going to be too low for most people.
Overall, the pairing of a new Mac Studio and a Studio Display is a great-looking combo. I think a lot of people are going to really dig this setup.



Mac Power Users 633: Workflows with Nick Milo
Nick Milo is a creator who is teaching people about Obsidian. On this week’s Mac Power Users, he talks with Stephen and me about how he manages his business, creates polished content and, of course, Obsidian and personal knowledge management.
This episode of Mac Power Users is sponsored by:
- 1Password: Have you ever forgotten a password? You don’t have to worry about that anymore.
- TextExpander from Smile: Get 20% off with this link and type more with less effort! Expand short abbreviations into longer bits of text, even fill-ins, with TextExpander from Smile
- Indeed: Get a free $75 credit to upgrade your job post.
- Microsoft Lists – MSA Preview: Sign up, sign in and track what matters most.
Studio Build Update – The Plans (MacSparky Labs)
The MacSparky Studio build now has architectural plans and submittals are about to happen. In this video, I share the new plans and give you a status update…
This is a post for MacSparky Labs Members only. Care to join? Or perhaps do you need to sign in?
Automators 98: Automation Potpourri
Rose and I have several automation topics on the table in this episode of Automators, including Shortcuts on the Mac, a Stream Deck check-in, and automating Obsidian. Also, we have thoughts on the new Mac Studio.
This episode of Automators is sponsored by:
- LinkedIn Jobs: Post a job for free by visiting this link.
- Fitbod: Get stronger, faster with a fitness plan that fits you. Get 25% off your membership.
- New Relic: Monitor, debug, and improve your entire stack. Sign up now and get 100GB of data free, forever – no credit card required.
Tinderbox – The Tool for Notes (Sponsor)
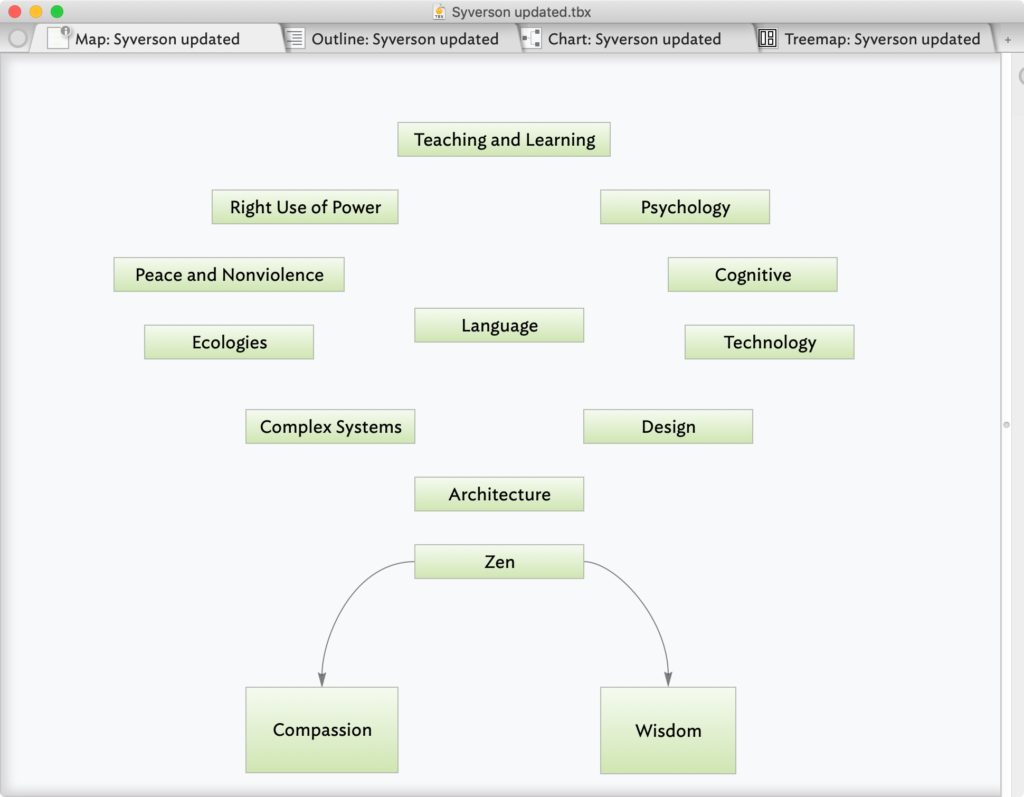
This week MacSparky is sponsored by Tinderbox, the tool for notes. Tinderbox is a Mac App that lets you collect your thoughts and slice and dice them any way your brain prefers. The application does a great job of adjusting to the way you think. With Tinderbox, you can make a mind map, a checklist, timelines, charts, outlines, and more. My favorite feature is that you are not tied to any paradigm with this app. Put your data in and start moving it around to help you make connections that weren’t there before.
People are using Tinderbox in all sorts of ways, from writing novels to planning a computer network to organizing a complicated corporate merger.
Tinderbox is now at version 9 with many new features, including string processing, user-created functions, stamps, and actions, where you perform processing and automation-related actions from inside Tinderbox. For example, do you automatically want to fetch information from web services and create a new note? Now you can do that. Also, Tinderbox runs great on your Apple Silicon Mac. Check out Tinderbox to visualize, analyze, and share your ideas.
Home Screens — Eric Welander
Allow me to introduce you to Eric Welander. (@ericwelander on Twitter.) Eric loves Apple smart home tech, which you can watch here, and earns his coin by building iOS apps. So, Eric, show us your Home Screens.
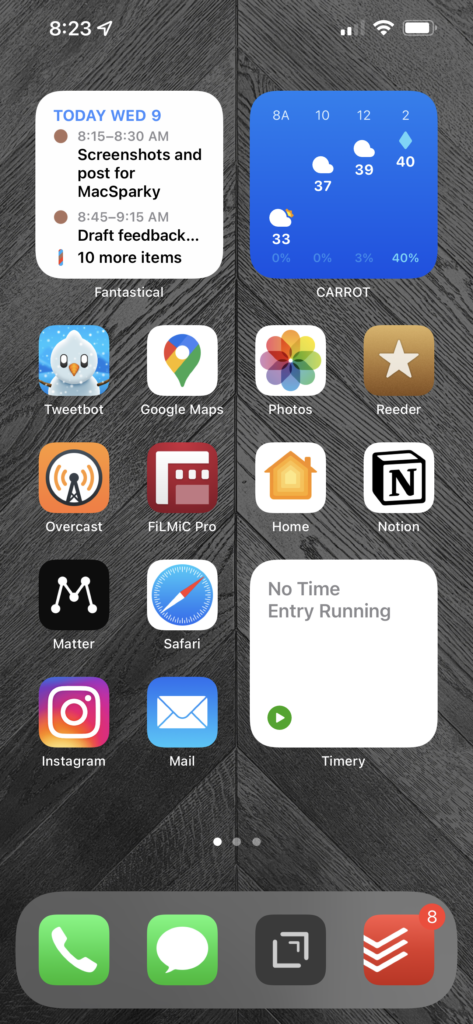
What are some of your favorite apps?
I don’t know where my life would be without Drafts. I use it to quickly capture ideas I have, either on my phone or on my Apple Watch. Then I have an action to send them to Obsidian, or I copy-paste them to the proper project in Notion.
I love Reeder for staying up to date on Apple and tech news. The design is subtle and absolutely stunning. I connect Reeder with Feedbin where I have RSS feeds and email newsletters. As a YouTuber, I also use Feedbin to watch when certain channels post new videos. I find this chronological timeline easier and more passive than YouTube’s systems for not missing a video from my favorite creators. Getting to the videos over in the YouTube app is a few extra taps, but that’s not Reeder’s fault.
Which app is your guilty pleasure?
Instagram. I love following all kinds of interior design and luxury home builders on Instagram. It’s an extension of my love of smart home tech that I talk about on YouTube. That said, as a part-time creator, I’m terrible about sharing on Instagram as much as I probably “should”. YouTube and Twitter are more my cup of tea for that. One fancy home-related account that’s a great follow on Instagram is Mike Kelley (@mpkelley_).
What app makes you most productive?
Todoist. I’ve been using Todoist as my task manager since I moved over from Things in 2019. The biggest change that took it to another level for me was separating project and task management. Todoist is full of chores and things I have to do. Notion (previously Trello) is where I manage my projects and related tasks that move the needle. While Todoist isn’t the most beautiful task manager, the natural language processing for task entry and their web API make it too easy to keep using. And because I have this separation of chores and project related tasks, I can easily chuck one or the other (or both!?) out the window.
What app do you know you’re underutilizing?
Matter. I recently switched from Instapaper to Matter for read-it-later content. I’m just barely scratching the surface of what Matter can do. I still need to set up highlight syncing with Obsidian, like I have with Instapaper. Beyond that, the stuff that Federico Viticci is doing with Matter over on MacStories is mind-blowing.
What is the app you are still missing?
I love using Obsidian for notes, but the iPhone version is clunky and difficult to use. I would love a much faster look into my Obsidian database and ways to add thoughts on the go. Right now, that is Drafts for me. Drafts is great, but it’s a one-way street where I’m not able to connect ideas with other Obsidian notes.
How many times a day do you use your iPhone/iPad?
According to Screen Time, I pick up my iPhone around 42 times a day.
What Today View widgets are you using and why?
A lot of my widgets in the Today View are pretty standard, but I want to call out David Smith’s Sleep++ Sleep Goal widget. This is a great way to know how much energy I will probably have for a day, to help know how much I can actually take on. I usually have to tap the widget and open the app to get it to update, but that’s fine with me and probably not David’s fault.
I also like using favorites in Notion and the corresponding widget for quick access to my dashboard and to show projects I’m actively working on for my content creation. As I film B-roll, I will jump into Notion on my phone to check off shots I need to get.

What is your favorite feature of the iPhone/iPad?
Apple’s cameras are so good these days and frequently praised, but their screens are quickly becoming just as amazing. The screen on my iPhone 13 Pro Max is absolutely gorgeous, and it makes content I’m looking at really pop.
If you were in charge at Apple, what would you add or change?
I would tell the iPad team to make a battery-less entry-level iPad you could hang on the wall in your home. I would also assemble a software team to make a homeOS for this product with HomeKit controls. I would also want it so that members of an iCloud family could share eligible, custom iOS widgets to remain on the display. Apple would probably need to build a way developers could make certain widgets eligible for Family Sharing, but I’m sure they would pull it off in a secure system. Oh, and go ahead and ship Family Sharing for photo libraries too … please and thank you!
Do you have an Apple Watch? Show us your watch face tell us about it.
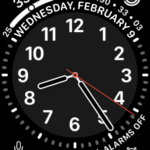
I’ve never been fully satisfied with my Apple Watch face. The California face seems to land the best compromise of data and style, I just wish there were more options for customizing the actual watch dial. I sleep with my watch on and use it as a silent alarm in the morning.
What’s your wallpaper and why?
I can’t find the link, but my wallpaper is an image I found around the launch of the Apple Tower Theatre store in Los Angeles in June 2021. I cropped the photo and turned it monochrome to be a subtle backdrop. I’ve had it on my phone since then, and I really like it. My Lock Screen is usually a family photo.

Thanks, Eric!
Dictation Deep Dive (MacSparky Labs)
Earlier this week I did an hour-long deep dive on dictation workflows and technologies for the Early Acces Labs members. The session went great and here is the recording for MacSparky Labs Early Access subscribers. The next Early Access Deep Dive, all about start-up and shut-down routines, will be on April 20 … This is a post for MacSparky Labs Early Access Members only. Care to join? Or perhaps do you need to sign in?
iFixit’s Mac Studio Tear Down
I’ve never really understood the attraction of ASMR videos, but these iFixit tear-downs get pretty close for me.
